
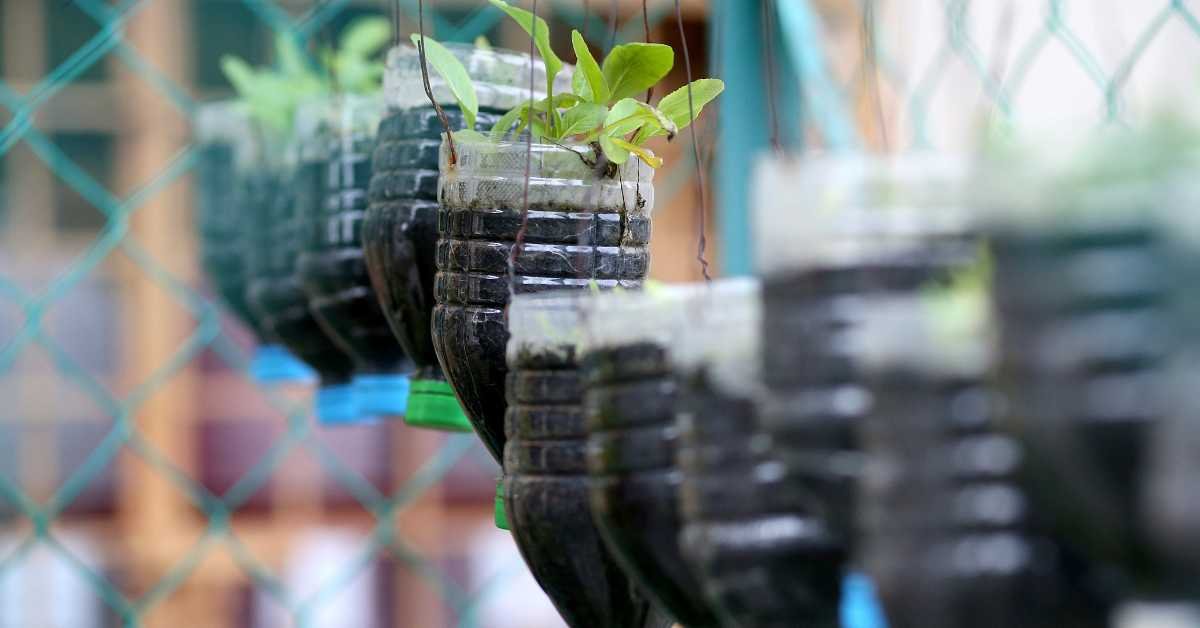
You can build a neat, reliable DIY vertical garden with plastic bottles on your balcony that actually produces herbs and greens.
You will have to use 1–2 L bottles, cut a planting window, add drainage, use a light potting mix, hang or mount the bottles on a simple frame, and pick plants proven for shallow containers.
Below you will get the exact step-by-step build, plant list, soil and watering rules, neat finishing tips, and the few mistakes that ruin most bottle gardens.
Which Plants Actually Work (The No-fail List)
Start with these. They need little depth and are forgiving.
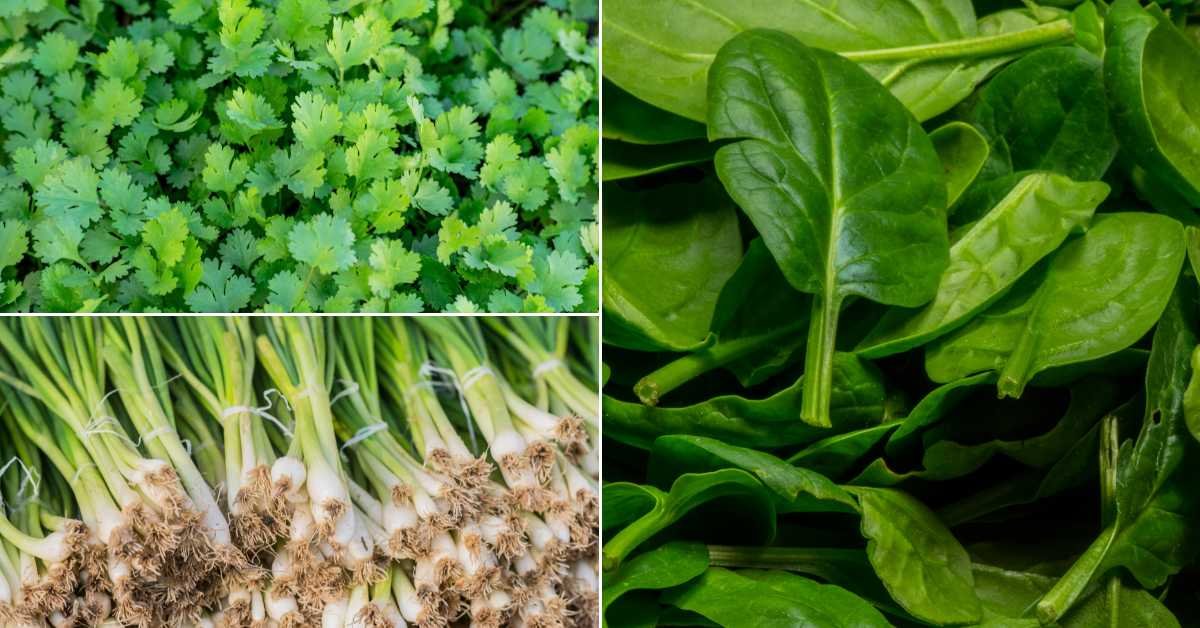
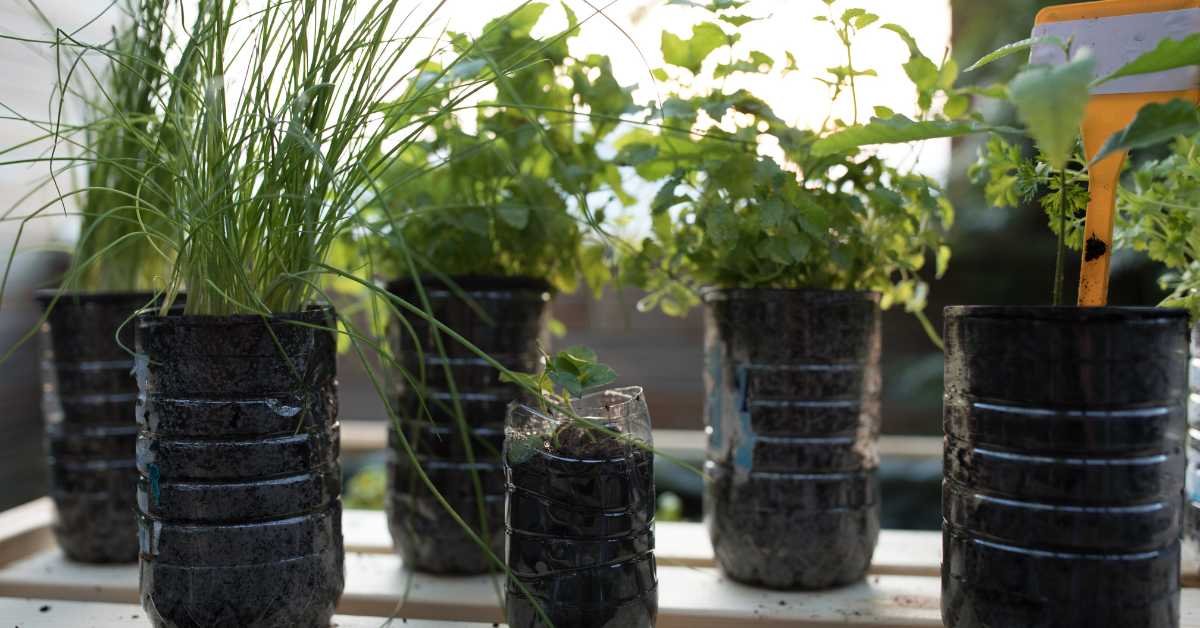
- Herbs: mint, basil, coriander (cilantro), parsley, chives, oregano, thyme.
- Leafy greens: loose-leaf lettuce, spinach, arugula, baby kale, fenugreek (methi).
- Small edibles: spring onions, dwarf cherry tomatoes (Tiny Tim), small chilies, alpine strawberries.
- Trailing and decorative: pothos (for green), nasturtium, portulaca.
Fenugreek and most leafy greens are fastest. For a complete list and ideas for herbs on balconies, see Best Herbs For Balcony Garden.
Bottle Choice and Why It Matters
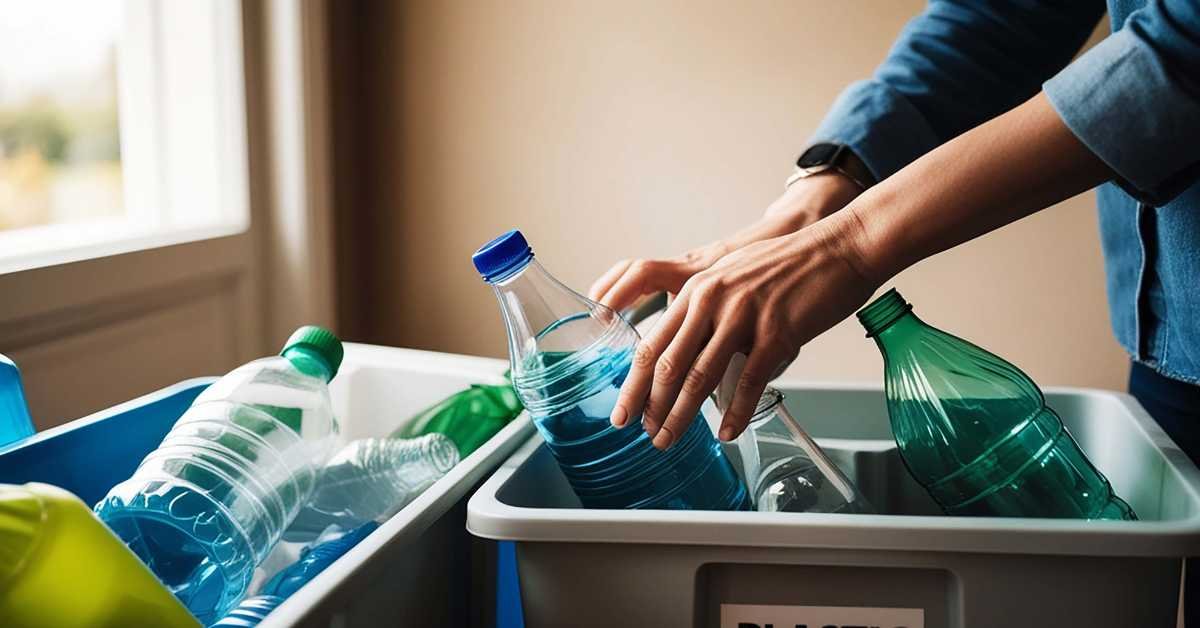
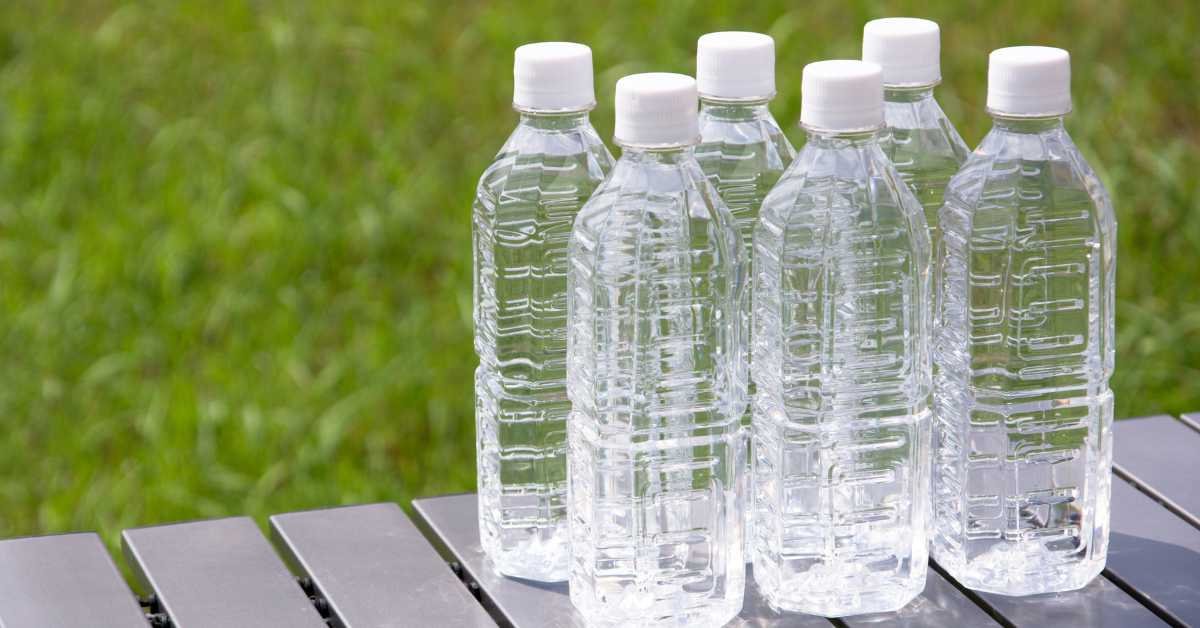
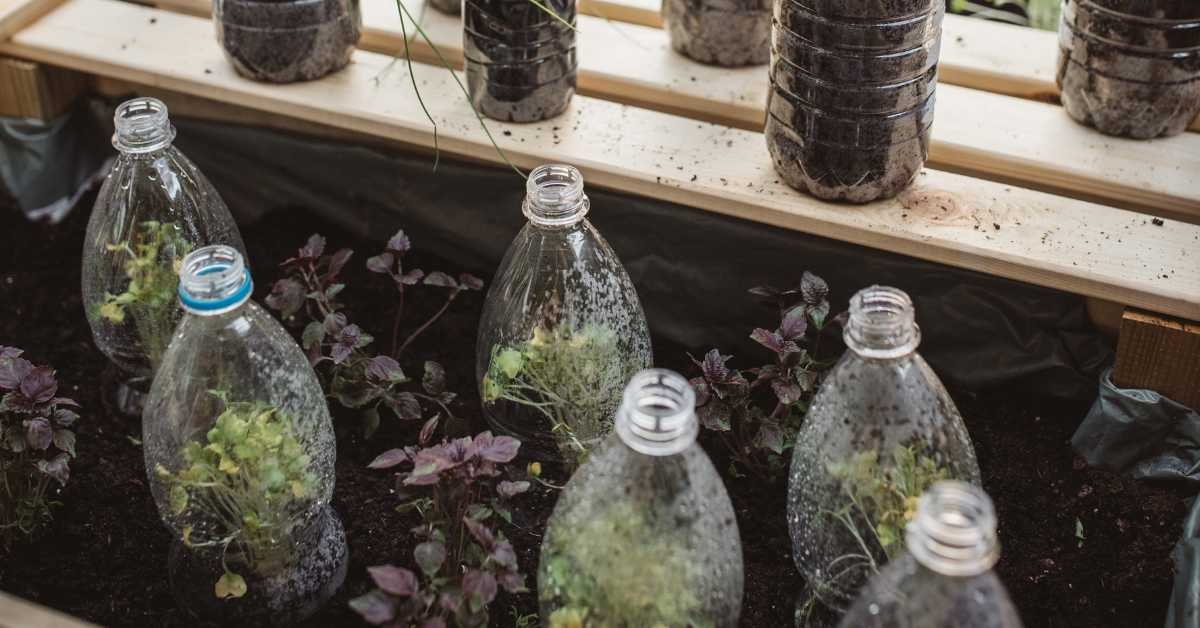
- Use 1 L or 2 L clear soda bottles. They are strong, easy to cut, and give enough root depth.
- Avoid very thin, flimsy bottles and avoid milk jugs (they crush easily).
- If bottles are colored or opaque, paint the outside later. Clear is useful to check water build-up.
Prepare the Bottle — Exact Cuts and Holes
Follow this; do not skip.
- Clean bottles with warm water and mild detergent. Rinse well.
- Cut a window: On the side, cut a rectangular opening starting about 3–4 cm from the top down to 70% of the bottle height. Leave the rim and bottom intact for strength.
- Drainage: Poke 4–6 small holes at the very bottom. Use a heated nail for neat holes.
- Overflow hole: Make one small hole 2–3 cm above the bottom holes on the side so excess water drains during heavy watering. This prevents soggy roots.
- Top hanging holes: Make two small holes opposite each other near the neck if you plan to thread rope or wire.
Why this exact cut: The front window gives access for planting and harvesting. Bottom holes stop waterlogging. The overflow hole saves plants when you overwater.
Soil Mix that Works Every Time
Use a light, loose mix. Heavy garden soil will compact and choke roots.
Mix:
- 50% good potting mix
- 30% well-rotted compost
- 20% cocopeat or perlite (for aeration)
If your balcony is humid or shaded, add 10% coarse sand to improve drainage. For more on soil choices for balcony plants, see Best Soil For Balcony Plants.
How Many Plants per Bottle (Simple Rule)
- 500 ml: tiny herbs (1)
- 1 L: 1 herb or 1 small lettuce plant
- 1.5–2 L: 1–2 small plants (e.g., lettuce + chives)
- Deep protein jars: 1 tomato seedling or 1 chilli
Do not overcrowd. One healthy plant beats three spindly ones.
Planting Process — Step by Step
- Add 2–3 cm of small pebbles to the bottom (helps drainage).
- Fill with soil mix to about 70–75% full.
- Sow seeds or transplant seedlings: for leafy greens, sow thick and thin out; for herbs, plant a single seedling or a few cuttings.
- Water lightly until you see a few drops from the bottom holes.
- Place the bottle where it gets the right light (below).
Light Guide — Match Plant to Balcony
- Full sun (4–6 hr): basil, tomatoes, chillies, portulaca.
- Partial sun/morning light (3–4 hr): lettuce, spinach, coriander, fenugreek.
- Shade / north-facing: mint, pothos, ferns, coleus, lettuce (slow growth). See Low-Maintenance Balcony Vegetable Garden Ideas for shade options.
Hanging, Mounting, and Layout Options (Practical)
Pick one based on space:
- Vertical rope columns: Thread rope through neck holes, knot under each bottle so they sit stable. Great for a narrow balcony wall.
- Pallet or mesh panel: Fix bottles horizontally or vertically to a wooden pallet or metal mesh, secure with cable ties. Looks neat and rigid.
- Railing-mounted: Tie bottles horizontally to the railing for easy access to herbs and lettuce.
- Ladder frame: Tie bottles across ladder steps for a layered look.
Spacing: Leave 8–12 inches vertically between bottles. Allow 6–10 inches horizontally.
If you want layout inspiration and compact designs, see Small Balcony Garden Layout Ideas and Balcony Garden Setup Ideas.
Watering Rules — Don’t Drown or Starve
- Check the top 1 inch of soil. If dry, water.
- Summer: Small daily waterings are better than one heavy soak. The wind dries the bottles fast.
- Winter: water every 3–5 days, depending on sun and temperature.
- Bottom-water once a week if plants show stress: place bottles in a tray of water for 10–15 minutes, then drain.
Big tip: the overflow hole prevents accidental overwatering. If you see constant wetness, increase perlite or cocopeat.
Feeding Schedule (Simple, Usable)
- Weekly: liquid feed (1/2 strength seaweed extract or compost tea).
- Monthly: add a tablespoon of compost to the top or a slow-release pellet.
- Every 60 days: refresh the top 10–20% soil with a new mix.
Bottles hold small soil volumes. That soil exhausts nutrients faster than a large pot.
Pests and Basic Fixes (Quick)
- Aphids/whiteflies: spray water or use neem oil.
- Fungal problems: Reduce watering and increase airflow.
- Slugs/snails: Check at night; use traps or hand-remove.
- Root crowding: If roots grow out of the drain holes, re-pot into a deeper bottle.
Small balcony gardens need regular visual checks—5 minutes twice weekly saves months of trouble.
Styling: Make Bottles Look like a Design, not Trash
Do this simply and cheap:
- Uniform bottle size for symmetry.
- Wrap bottles with jute rope or thin cane for a rustic look.
- Paint the outside matte white, terracotta, or green (only outside). Do not paint inside.
- Use matching labels for plant names.
- Add a short wooden slat or narrow shelf behind the bottles for a clean backdrop.
If you want budget decor ideas, check Small Balcony Decoration Ideas On A Budget.
Mistakes that Kill a Bottle Garden (and How to Avoid Them)
- No drainage holes — roots rot. Drill holes.
- Overcrowding — roots fight for space; thin plants.
- Heavy garden soil — compacts and drowns roots; use the recommended soil mix.
- Wrong plants for light — match plants to your balcony light honestly.
- Ignoring wind — secure the bottles and use a sturdy frame.
Fix these five, and you will avoid most failures.
Seasonal Tips (Short and Practical)
- Summer: Shade cloth for the hottest afternoons; water early morning or late evening.
- Monsoon / heavy rain: Bring bottles under cover or ensure strong drainage and slope.
- Winter: Move sensitive plants inside or to a sheltered corner.
For seasonal care, read Spring Balcony Planting Ideas and Summer Balcony Plant Care Tips.
Advanced but Useful: Mix Horizontal + Vertical
Use horizontal bottles for herbs and lettuce—gives more surface area for sowing.
Use vertical deep bottles for chilies and tomatoes.
If you combine both, it saves space and increases yield. Many experienced balcony growers use this mixed layout.
Quick Troubleshooting Checklist (One Minute)

- Leaves yellowing: Cut back watering; check drainage.
- Growth slow: Give more light; add liquid feed.
- Wilting midday: You have to give partial shade and water.
- Bottles smelling bad: Check drainage, and also replace soil if needed.
How Long Will You Wait for Results?
- Fenugreek: 20–25 days to young harvest.
- Leafy greens: 3–5 weeks for first leaves (cut & come again).
- Herbs: 4–6 weeks to usable harvest from seedlings.
- Strawberries/cherry tomatoes: months—be patient and choose compact varieties.
Small Shopping List (Start Today)
- 10–15 x 1–2 L soda bottles (clean)
- Good potting mix, compost, cocopeat/perlite
- Rope, cable ties, wooden pallet, or mesh panel (your choice)
- Small pebbles for drainage
- Liquid seaweed or balanced liquid fertilizer
- Hand pruner, sharp cutter, heated nail for holes
Conclusion
So overall, a plastic-bottle vertical garden is actually very simple. You just prepare a few bottles properly, use a light soil mix, and choose plants that grow well in small containers.
After that, everything becomes easy. Once the first row starts growing, you’ll understand the pattern, and you can add more bottles whenever you want. Just keep an eye on water, sunlight, and drainage.
And don’t overcrowd the bottles. If you follow these basics, your balcony will stay green and clean, and you’ll get fresh herbs or greens regularly without using any floor space.
FAQs
Why are my plants growing slowly in bottles?
Mostly it happens because of low sunlight or heavy soil. Move the bottles to a brighter place and use a lighter mix.
Adding a little compost or liquid feed once a week will also help the plant pick up speed.
Can I use very small bottles like 500 ml?
Yes, but only for tiny herbs or something lightweight. For most plants, 1–2 liter bottles work better because they give the roots a little more room. Smaller bottles dry faster, too, so you’ll water more often.
My bottle soil stays wet for too long What should I do?
Check drainage holes first. Add a few more if needed. Also, mix in some cocopeat or perlite to make the soil loose.
Wet soil is the main reason roots rot, so fix drainage quickly.
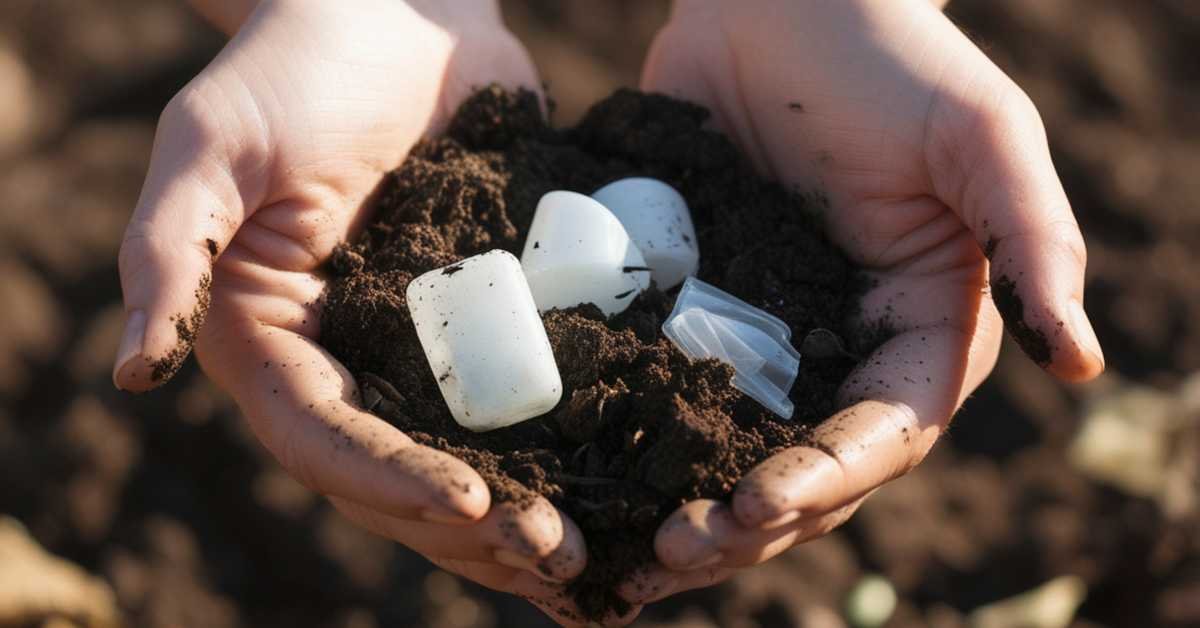
Do I need to replace the bottles after some time?
Yes, plastic bottles become weak in the sun after a few months.
You can reuse the soil by refreshing it, but the bottles should be changed roughly every 8–12 months so the setup stays strong and clean.

I’m Abraham creator of Balcony Gardening Ideas. I share balcony gardening tips, DIY projects, and hands-on plant care guides based on my own balcony garden experience. I grow vegetables, herbs, and flowers using organic methods and simple setups anyone can follow.